

Overview
@testdriver.ai/playwright is a backwards-compatible wrapper around @playwright/test that uses TestDriver’s Vision AI to:
- Make natural language assertions
- Replace brittle selectors with natural language
- Perform actions with a prompt
- Test with an automated agent
tests/example.spec.ts
tests/example.spec.ts
Prerequisites
1
Create a TestDriver Account
You will need a Free TestDriver Account to get an API key.
Sign Up for TestDriver
2
Set up your environment
Copy your API key from the TestDriver dashboard, and set it as an environment variable.
- macOS / Linux
- Windows
Export an environment variable on macOS or Linux systems
Setup Playwright
1
Initialize Playwright
This is a condensed version of Playwright’s Installation Instructions.If you’re new to Playwright, you should follow their guide first.
- npm
- yarn
- pnpm
- npm
- yarn
- pnpm
Setup @testdriver.ai/playwright
1
Install TestDriver
@testdriver.ai/playwright as a backwards-compatible wrapper around @playwright/test:- npm
- yarn
- pnpm
2
Run Playwright
Before we start using TestDriver in our tests, run Playwright in UI Mode: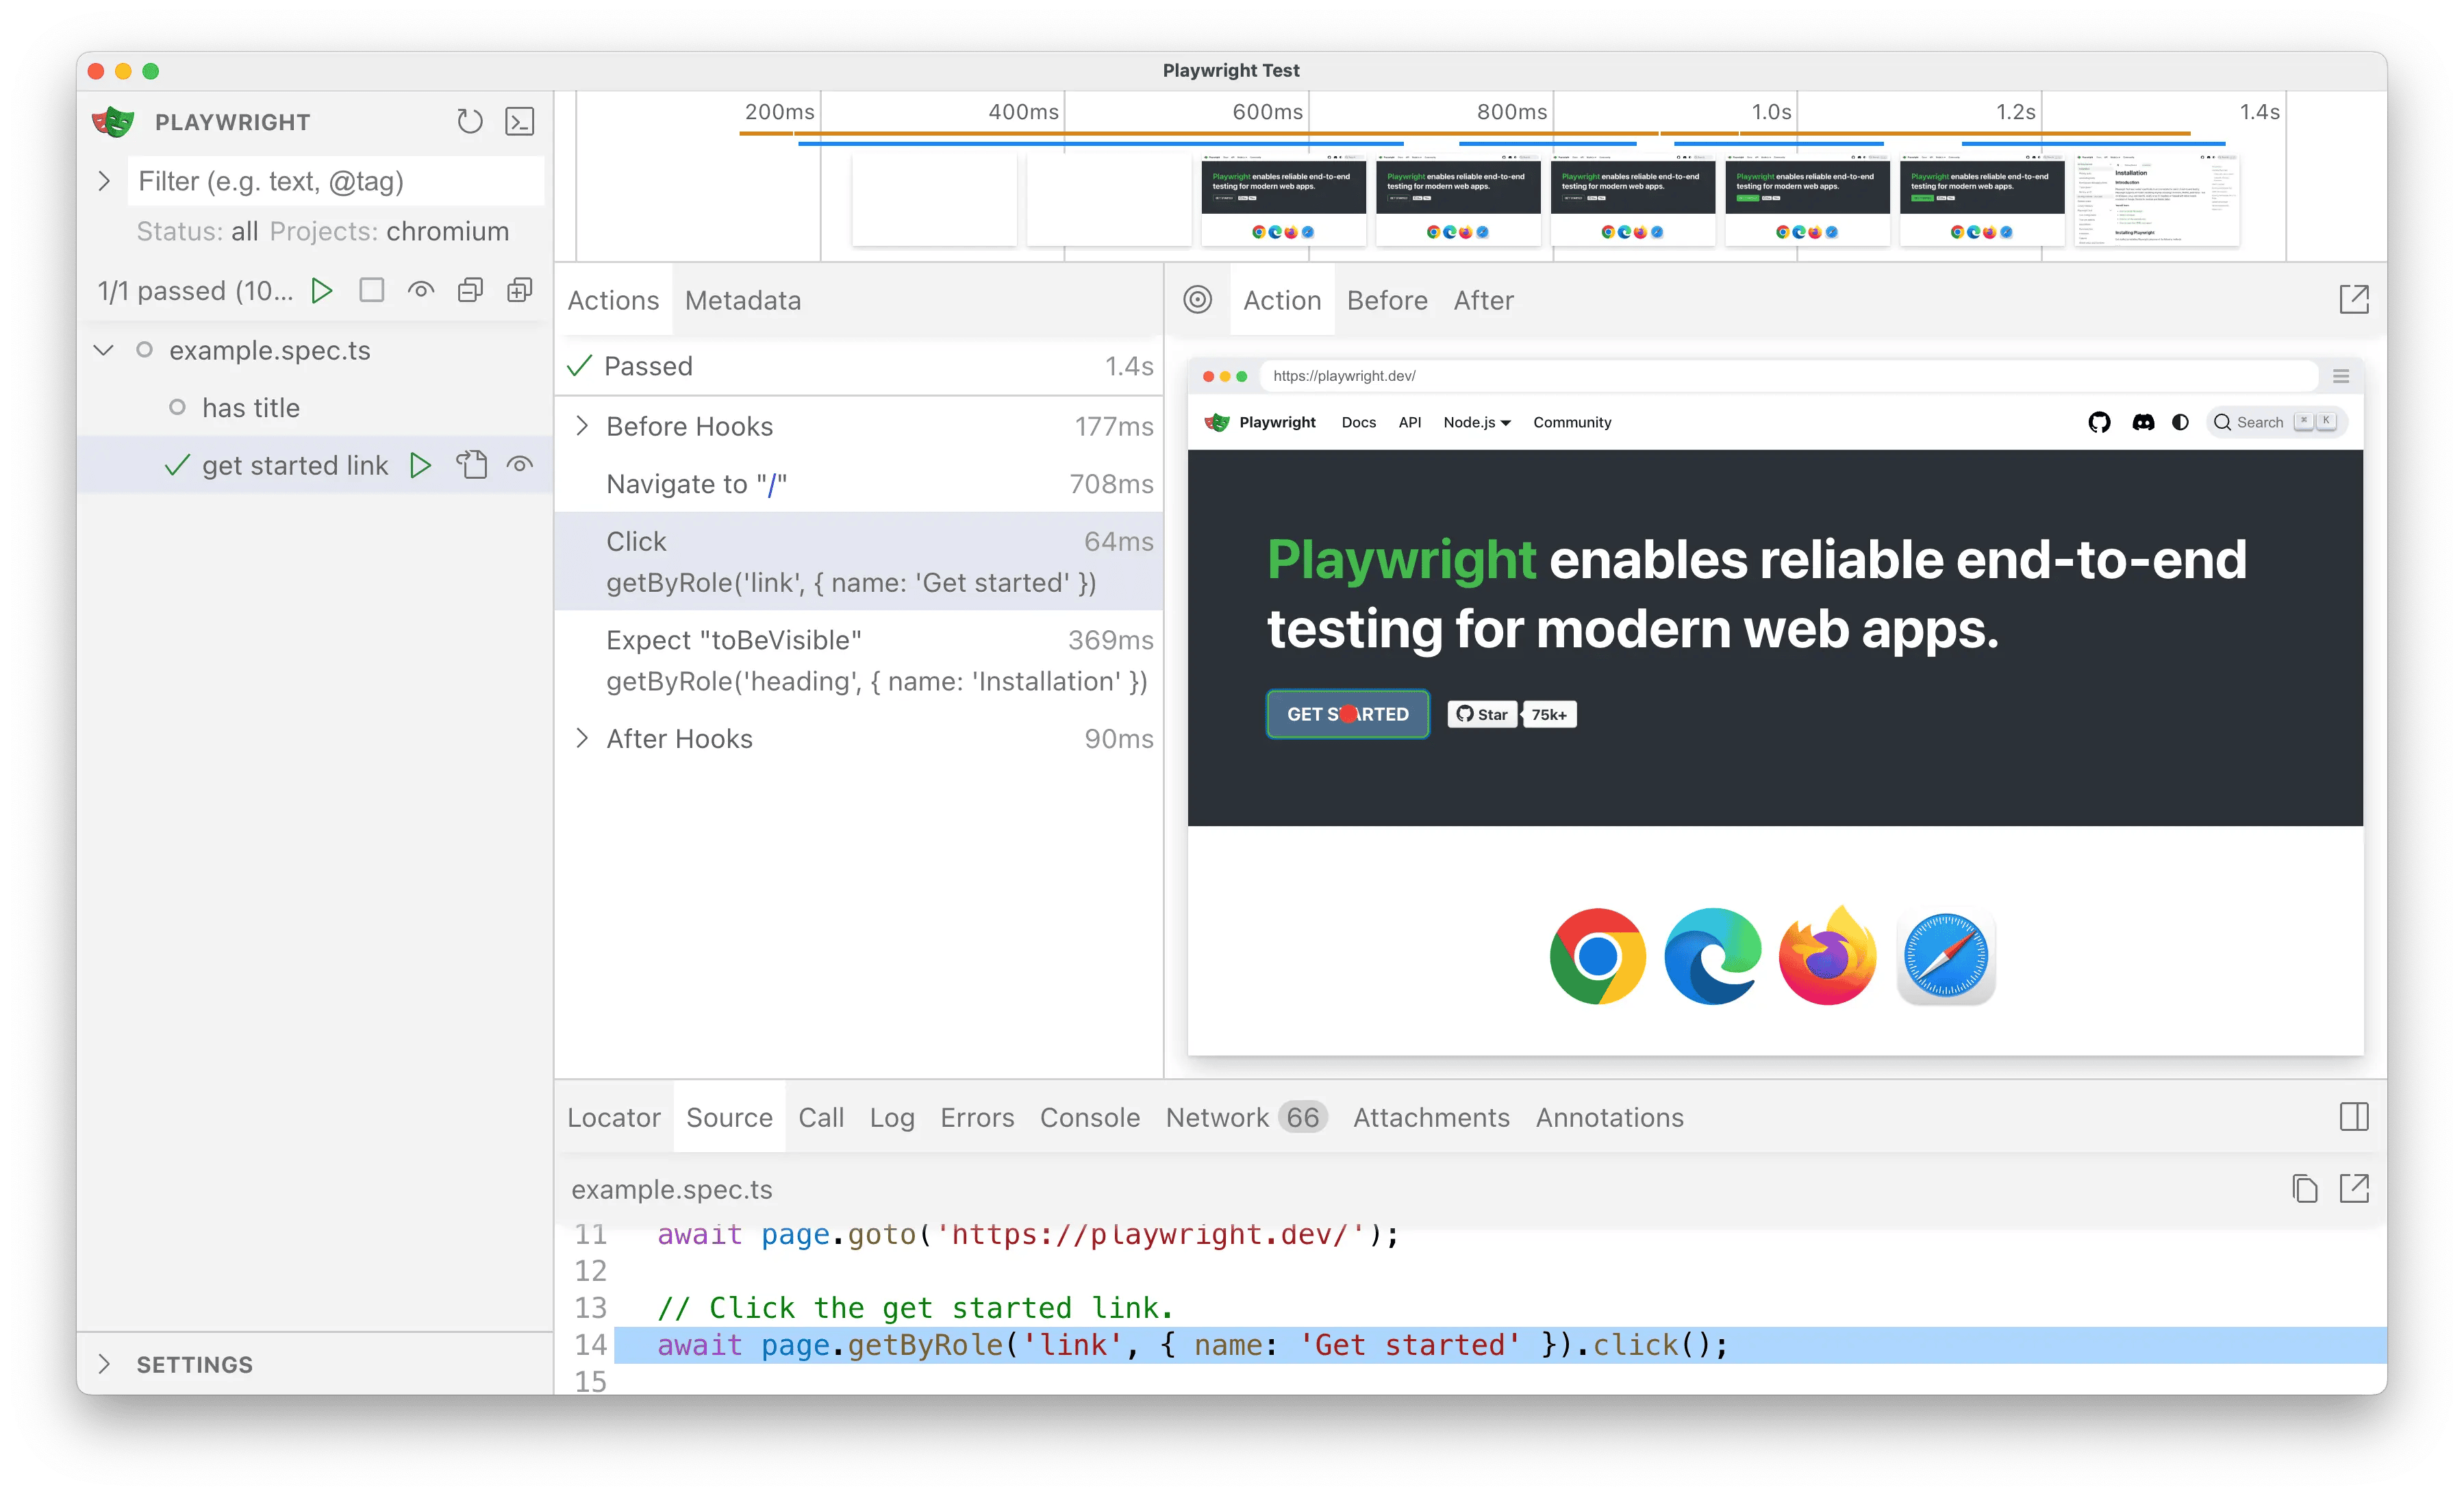 Clicking the ▶️ button should successfully run the tests in the UI,
just as they did before with
Clicking the ▶️ button should successfully run the tests in the UI,
just as they did before with
- npm
- yarn
- pnpm
Clicking the ▶️ button should successfully run the tests in the UI,
just as they did before with playwright test in the CLI.3
Import TestDriver
For the sake of simplicity, we’ll be working with one test file for now.Open Click the button to run the test and verify everything still works.
tests/example.spec.ts in your editor & rename the @playwright/test
import to @testdriver.ai/playwright:tests/example.spec.ts
Usage
Because TestDriver uses AI vision instead of selectors, we can use natural language for assertions, locating, performing actions, or even having an agent test for you!Assertions with expect.toMatchPrompt
Replace toBeVisible with toMatchPrompt to assert that the element is visible on the screen:
tests/example.spec.ts
toMatchPrompt, natural language acts as a description, selector, and assertion in one
Locating elements with testdriver.locate
TestDriver can replace data-testids, getByRole, and CSS selectors with natural language.
First, update your test to get access to the testdriver fixture:
tests/example.spec.ts
getByRole with testdriver.locate:
tests/example.spec.ts
Performing actions with testdriver.act
We can combine locate and click from the previous example into one line with testdriver.act:
tests/example.spec.ts
Agentic tests with test.agent
TestDriver can automatically perform the entire test for you with an AI agent:
tests/example.spec.ts
test.describe to describe the test still,
but replaced the test itself with test.agent.
Conclusion
With@testdriver.ai/playwright, you can use as much or as little of Playwright’s or TestDriver’s API as you need to validate correctness. It’s up to you!