> ## Documentation Index
> Fetch the complete documentation index at: https://docs.testdriver.ai/llms.txt
> Use this file to discover all available pages before exploring further.
# Get Started with TestDriver & Playwright
> In this guide, you'll setup your TestDriver account, create a new Playwright project, and leverage TestDriver's AI to convert tests to natural language.
## Overview
`@testdriver.ai/playwright` is a backwards-compatible wrapper around `@playwright/test` that uses TestDriver's Vision AI to:
* Make [natural language assertions](#assertions-with-expect-tomatchprompt)
* [Replace brittle selectors](#locating-elements-with-testdriver-locate) with natural language
* [Perform actions](#performing-actions-with-testdriver-act) with a prompt
* Test with an [automated agent](#agentic-tests-with-test-agent)
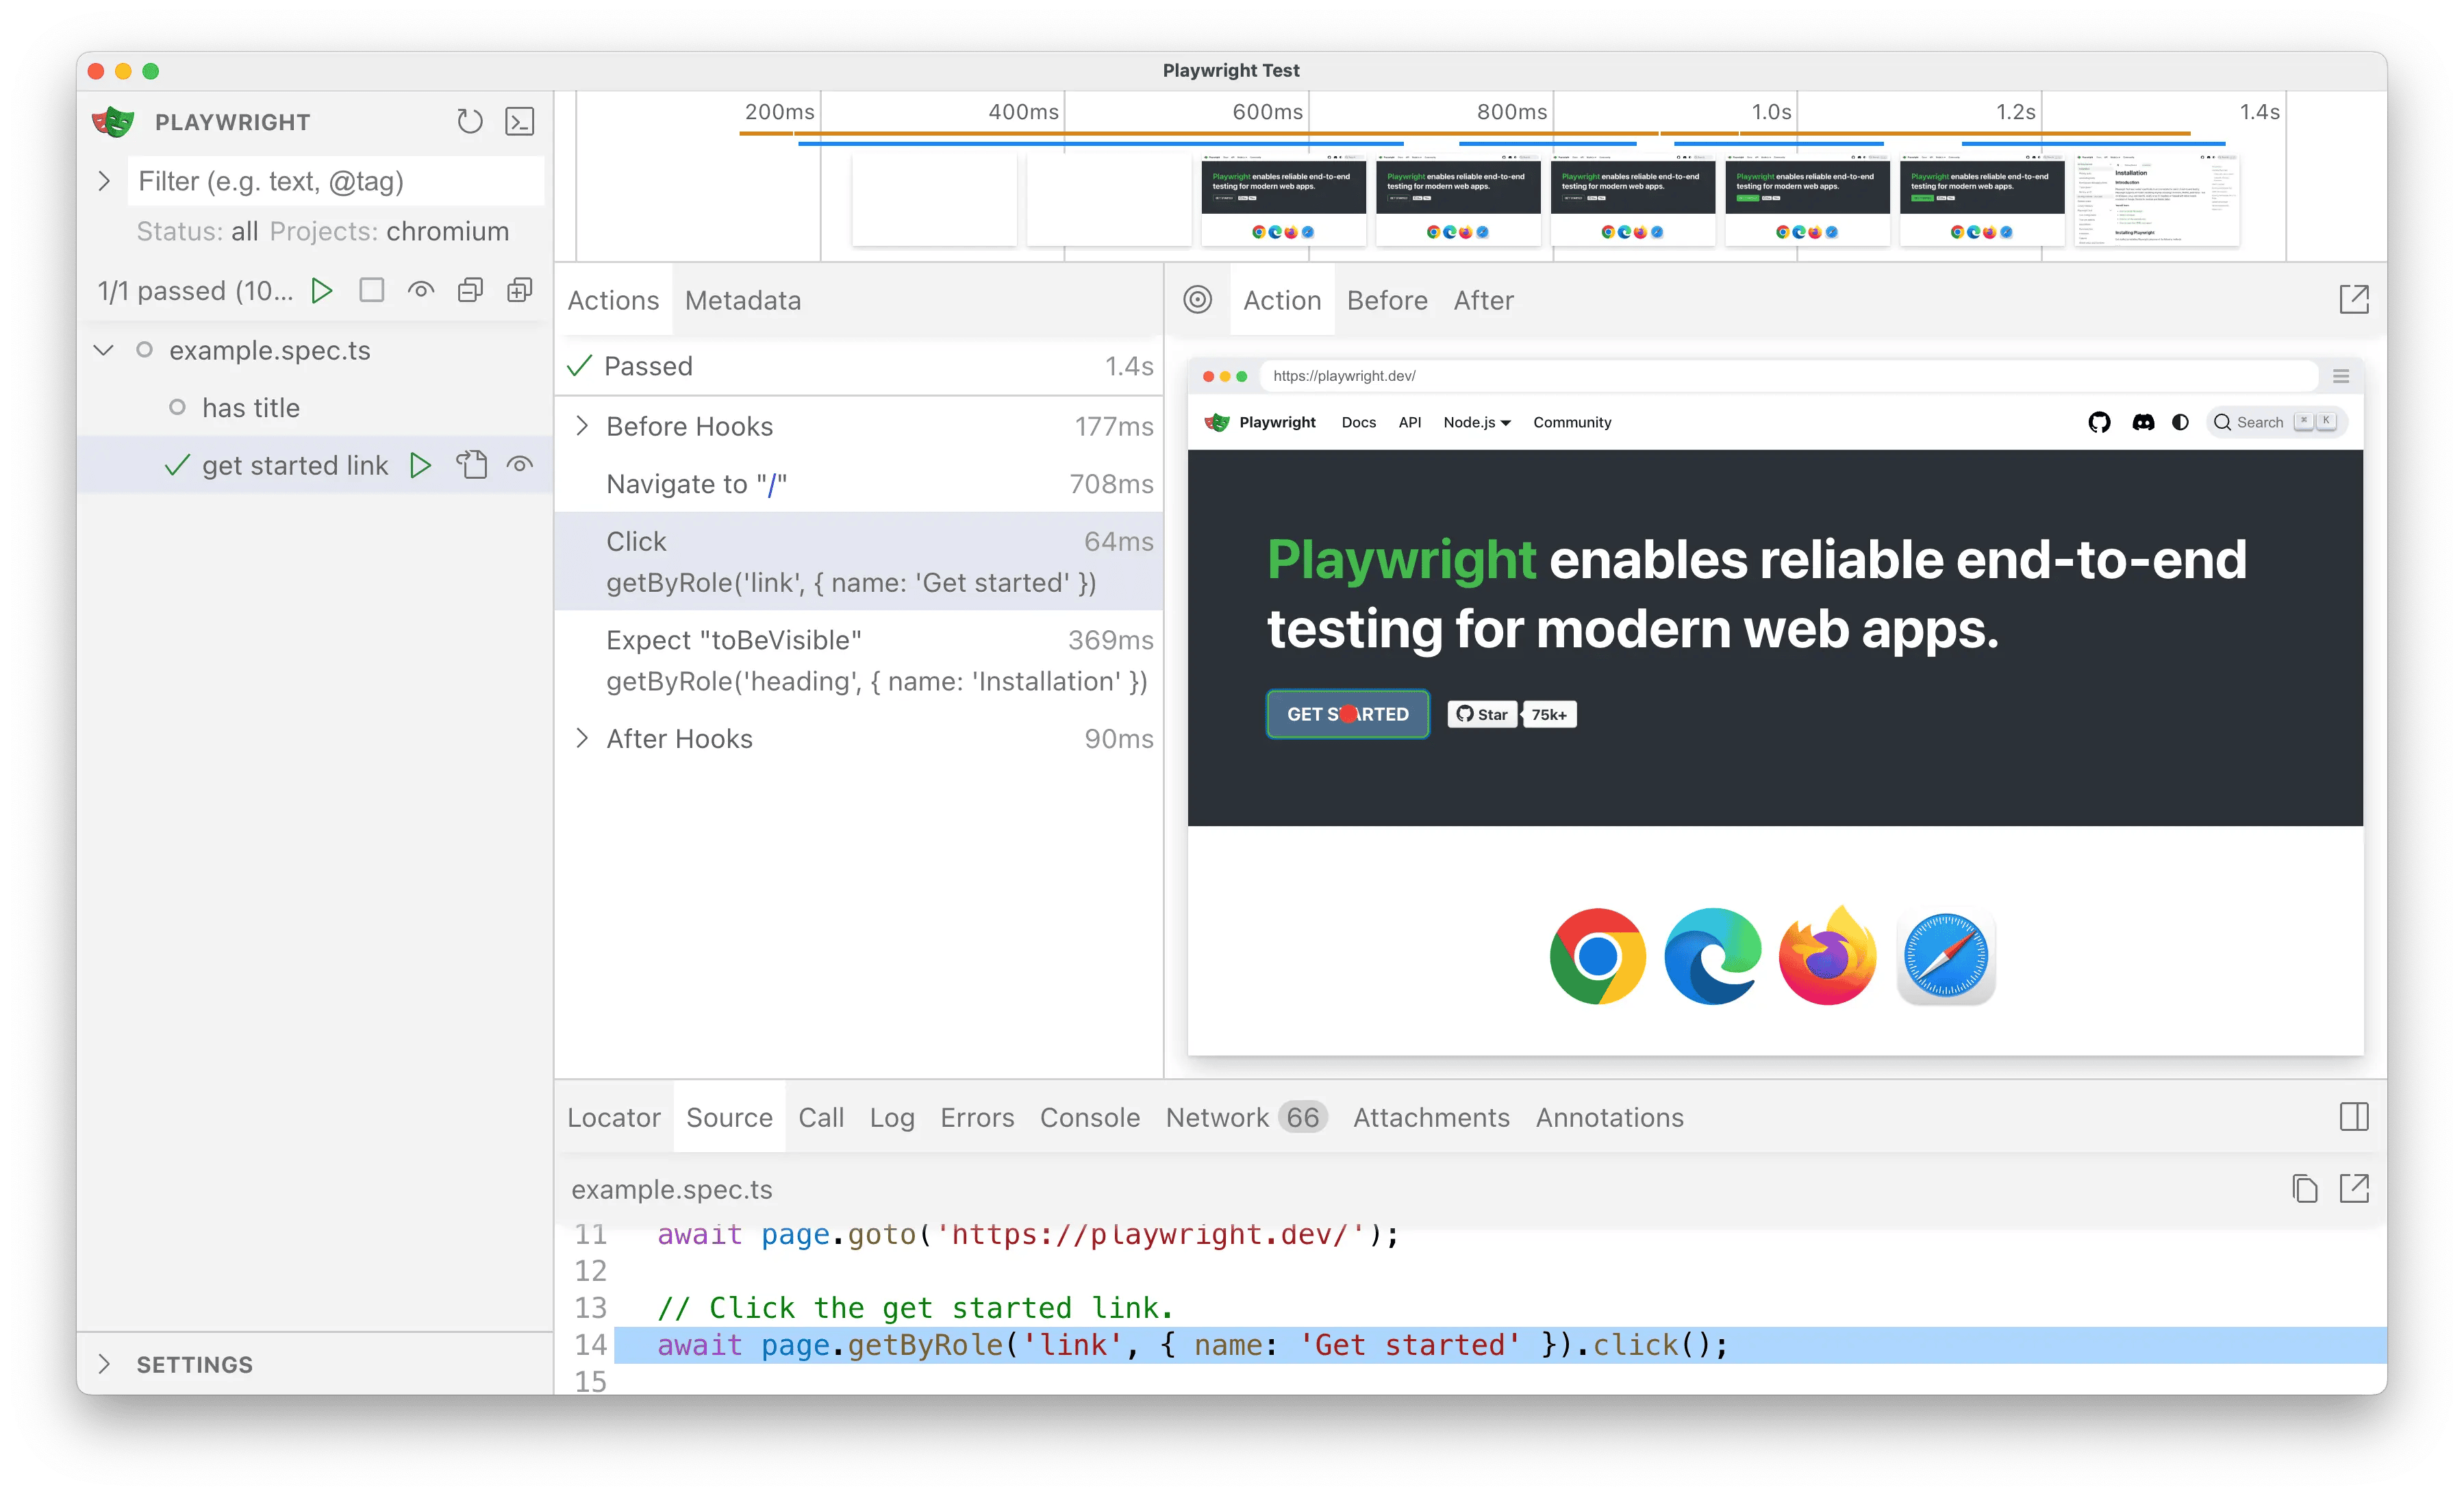
We'll be incrementally converting Playwright's example test from the sample code:
```typescript tests/example.spec.ts icon=square-js theme={null}
// Before
test("get started link", async ({ page }) => {
await page.goto("https://playwright.dev/");
await page.getByRole("link", { name: "Get started" }).click();
await expect(
page.getByRole("heading", { name: "Installation" }),
).toBeVisible();
});
```
To using natural language with TestDriver:
```typescript tests/example.spec.ts icon=square-js theme={null}
// After
import { test } from "@testdriver.ai/playwright";
test.describe("get started link", () => {
test.beforeEach(async ({ page }) => page.goto("https://playwright.dev/"));
test.agent(`
- Click the 'Get started' link
- Verify the 'Installation' heading is visible
`);
});
```
## Prerequisites
You will need a [Free TestDriver Account](https://app.testdriver.ai/team) to get an API key.
Copy your API key from [the TestDriver dashboard](https://app.testdriver.ai/team), and set it as an environment variable.
```bash Export an environment variable on macOS or Linux systems theme={null}
export TD_API_KEY="your_api_key_here"
```
```powershell Export an environment variable in PowerShell theme={null}
setx TD_API_KEY "your_api_key_here"
```
## Setup Playwright
This is a condensed version of [Playwright's Installation Instructions](https://playwright.dev/docs/intro).
**If you're new to Playwright, you should follow their guide first.**
In a new folder or an existing, run:
```bash theme={null}
npm init playwright@latest
```
```bash theme={null}
yarn create playwright
```
```bash theme={null}
pnpm create playwright
```
Select the following options when prompted:
```console theme={null}
✔ Do you want to use TypeScript or JavaScript?
> TypeScript
✔ Where to put your end-to-end tests?
> tests
✔ Add a GitHub Actions workflow? (y/N)
> N
✔ Install Playwright browsers (can be done manually via 'npx playwright install')? (Y/n)
> Y
```
Then, confirm Playwright works by running:
```bash theme={null}
npx playwright test
```
```bash theme={null}
yarn playwright test
```
```bash theme={null}
pnpm exec playwright test
```
## Setup `@testdriver.ai/playwright`
`@testdriver.ai/playwright` as a backwards-compatible wrapper around `@playwright/test`:
```bash theme={null}
npm install @testdriver.ai/playwright
```
```bash theme={null}
yarn add @testdriver.ai/playwright
```
```bash theme={null}
pnpm add @testdriver.ai/playwright
```
Before we start using TestDriver in our tests, run Playwright in [UI Mode](https://playwright.dev/docs/test-ui-mode):
```bash theme={null}
npx playwright test --ui
```
```bash theme={null}
yarn playwright test --ui
```
```bash theme={null}
pnpm exec playwright test --ui
```
Clicking the ▶️ button should successfully run the tests in the UI,
just as they did before with `playwright test` in the CLI.
For the sake of simplicity, we'll be working with one test file for now.
Open `tests/example.spec.ts` in your editor & rename the `@playwright/test`
import to `@testdriver.ai/playwright`:
```typescript tests/example.spec.ts icon=square-js theme={null}
import { test, expect } from '@playwright/test'; // [!code --]
import { test, expect } from '@testdriver.ai/playwright'; // [!code ++]
```
Click the button to run the test and verify everything still works.
Click the button to automatically re-run tests on save.
## Usage
Because TestDriver uses AI vision instead of selectors, we can use natural language for
[assertions](#assertions-with-expect-tomatchprompt),
[locating](#locating-elements-with-testdriver-locate),
performing [actions](#performing-actions-with-testdriver-act),
or even having an [agent](#agentic-tests-with-test-agent) test for you!
### Assertions with `expect.toMatchPrompt`
Replace `toBeVisible` with `toMatchPrompt` to assert that the element is visible on the screen:
```typescript tests/example.spec.ts icon=square-js theme={null}
// [!code --:2]
// Expects page to have a heading with the name of Installation.
await expect(page.getByRole("heading", { name: "Installation" })).toBeVisible();
// [!code ++:2]
await expect(page).toMatchPrompt("'Installation' heading is visible");
```
Before, the test needed code comments to describe what the assertion is *actually checking*.
With `toMatchPrompt`, natural language acts as a description, selector, and assertion in one
TestDriver can reduce the amount of complexity in your tests, but you can
still "opt-in" to Playwright assertions and selectors if you need to (e.g.
validating accessibility with `page.getByRole`).
### Locating elements with `testdriver.locate`
TestDriver can replace `data-testid`s, `getByRole`, and CSS selectors with natural language.
First, update your test to get access to the `testdriver` fixture:
```typescript tests/example.spec.ts icon=square-js theme={null}
// [!code --]
test('get started link', async ({ page, }) => {
// [!code ++]
test('get started link', async ({ page, testdriver }) => {
```
Then, replace `getByRole` with `testdriver.locate`:
```typescript tests/example.spec.ts icon=square-js theme={null}
test('get started link', async ({ page, testdriver }) => {
await page.goto('https://playwright.dev/');
// [!code --:2]
// Click the get started link.
await page.getByRole("link", { name: "Get started" }).click();
// [!code ++:2]
const link = await testdriver(page).locate("Get started link");
await link.click();
await expect(page).toMatchPrompt("'Installation' heading is visible");
```
Now, our test uses natural language to both describe & locate the element.
In the example above, you can still use Playwright to assert that the element is indeed a link for accessibility:
```typescript tests/example.spec.ts icon=square-js theme={null}
const link = await testdriver(page).locate("Get started link");
// [!code ++]
expect(link).toHaveRole("link");
await link.click();
```
This way you can write user-centric tests *and* validate the implementation.
### Performing actions with `testdriver.act`
We can combine `locate` and `click` from the previous example into one line with `testdriver.act`:
```typescript tests/example.spec.ts icon=square-js theme={null}
test("get started link", async ({ page, testdriver }) => {
await page.goto("https://playwright.dev/");
// [!code --:2]
const link = await testdriver(page).locate("Get started link");
await link.click();
// [!code ++]
await testdriver(page).act("Click the 'Get started' link");
await expect(page).toMatchPrompt("'Installation' heading is visible");
});
```
Now the test uses the page the way a user would!
### Agentic tests with `test.agent`
TestDriver can automatically perform the entire test for you with an AI agent:
```typescript tests/example.spec.ts icon=square-js theme={null}
// [!code --:6]
test("get started link", async ({ page, testdriver }) => {
await page.goto("https://playwright.dev/");
await testdriver(page).act("Click the 'Get started' link");
await expect(page).toMatchPrompt("'Installation' heading is visible");
});
// [!code ++:7]
test.describe("get started link", () => {
test.beforeEach(async ({ page }) => page.goto("https://playwright.dev/"));
test.agent(`
- Click the 'Get started' link
- Verify the 'Installation' heading is visible
`);
});
```
Instead of writing the test implementation, we've used [`test.describe`](https://playwright.dev/docs/api/class-test#test-describe) to describe the test still,
but replaced the `test` itself with `test.agent`.
Use `test.beforeEach` to prepare the page for the agent (e.g.
[`page.goto`](https://playwright.dev/docs/api/class-page#page-goto), calling
an API to create a user). Use
[`test.afterEach`](https://playwright.dev/docs/api/class-test#test-after-each)
to clean up after the agent (e.g. `page.close`) or perform additional logic
(e.g. clearing the session).
## Conclusion
With `@testdriver.ai/playwright`, you can use as much or as little of Playwright's *or* TestDriver's API as you need to validate correctness. It's up to you!